Lo-Fi Music Production Tools List for Pro Producers
Lo-Fi Music Production Tools List for Pro Producers

For a studio-ready lo-fi setup, you need five plugin roles covered: tape-style saturation, bit-crushing and downsampling, precise frequency filtering, curated artifacts (vinyl crackle, tape hiss), and space via reverb or delay. The single professional solution worth licensing for all five in one architecture is ToneLab by Vector-dsp, which delivers multi-lane parallel effects with per-lane EQ targeting, low-latency DSP, and full VST3/AU/AAX support. If you're building a lo-fi tools list from scratch, prioritize those five roles in that order. Everything else is refinement.
Table of Contents
- What professional lo-fi plugins actually do
- Studio workflow: how to route and stage lo-fi processing
- Concrete starting settings for drums, bass, keys, and sampled loops
- How pro sound engineers evaluate lo-fi plugins
- Why harmony and arrangement matter for lo-fi
- Combining hardware and software for lo-fi production
- Key Takeaways
- Why per-track processing beats master bus lo-fi every time
- ToneLab by Vector-dsp: professional lo-fi DSP in one license
- Sources and further reading
What professional lo-fi plugins actually do
Lo-fi production is the deliberate, curated use of degradation, built on four technical pillars: tape saturation, bit-crushing and downsampling, precise frequency filtering, and curated artifacts like vinyl crackle or tape hiss. Each pillar maps to a plugin category you'll license separately or find combined in a multi-lane processor.
Saturation and tape emulation sits at the front of every chain. It adds harmonic warmth, soft compression, and the gentle distortion that separates analog-feeling audio from sterile digital. Place it at the track level, not the bus, so each instrument gets its own character. Prefer plugins with soft-clipping curves and automation-ready drive controls.
Bit-crushing and downsampling produces the aliasing artifacts that define 12-bit sampler grit. Saturation before sample-rate reduction yields the characteristic texture of early hardware; bit-crushing alone rarely gets there. Insert this on individual tracks or a drum bus, never the master.
Precise frequency filtering is where lo-fi gets its spectral signature. The goal is a mid-forward EQ curve: presence carved at 1–3 kHz, high end rolled off above 10–12 kHz, and subsonic rumble removed below 60–100 Hz. Character-based filtering here, not corrective EQ. Plugins with musical, vintage-modeled curves outperform surgical linear-phase EQs for this task.
Curated artifacts (vinyl crackle, tape hiss, wow and flutter) are applied via send/return or as a dedicated layer. The professional feature flag to check: automation-ready artifact level controls, so textures can breathe with the arrangement rather than sit static.
Space and delay closes the chain. Dub-style delays use feedback-path filters and pitch wobble so high end degrades with each repeat. Reverb should be short and dense, modeled on 1970s and 1980s room sounds rather than modern algorithmic tails. Route both as sends so you can automate wet levels independently.
For format support, require VST3, AU, or AAX. Verify CPU scaling and latency behavior before committing to a license. A plugin that sounds great but introduces buffer-dependent latency spikes will break real-time monitoring.
Studio workflow: how to route and stage lo-fi processing
Bake character on individual tracks first, shape dynamics at the bus level, layer artifacts on sends, then apply gentle limiting at the master. That sequence is the difference between a lo-fi mix that sounds intentional and one that sounds like a filter was dropped on a finished track.
Per-track saturation is the starting point. Experts recommend adding saturation on drums and bass before any bus processing. For drums, this means the kick and snare get their own saturation instances with drive dialed to taste, then the drum bus gets a second, lighter pass. Keys and pads follow the same logic. Each instrument develops its own harmonic texture before anything is summed.
From there, a grouped bus handles dynamics. A slow-attack compressor on the drum bus lets transients breathe while gluing the kit. Bass and keys can share a bus with gentle tape-style compression. The signal flow at this stage should feel like the mix is already sitting in a room, not just processed.
Artifacts live on a dedicated send. Route a vinyl noise or tape hiss layer to a return track, then automate the send level from each instrument track. The master bus gets only a gentle limiter and possibly a subtle high-shelf cut to unify the spectral character.
Pro Tip: Automate artifact send levels so noise swells in quiet passages and pulls back when the arrangement gets dense. Static artifact layers are the fastest way to make lo-fi sound pasted on rather than recorded that way. This is one of the most effective lo-fi aesthetic audio production techniques you can apply.
For VST3 signal chain setup in Ableton Live, FL Studio, or Logic Pro, the routing principle is identical: track inserts for saturation and filtering, bus inserts for dynamics, send/return for artifacts and reverb.
Concrete starting settings for drums, bass, keys, and sampled loops
The most useful starting chain for any instrument: saturation → sample-rate reduction → mid-forward filtering → artifact send → ambient reverb. Apply in that order and adjust drive and reduction depth per instrument.
| Instrument | Saturation Drive | Sample Rate Target | Bit Depth | HPF | HF Shelf Cut | Reverb/Delay |
|---|---|---|---|---|---|---|
| Kick/Snare | 15% | 22 kHz | 12 bit | 60 Hz | 10 kHz | Short room |
| Drum loop | 10% | 22 kHz | 12 bit | 100 Hz | 10–12 kHz | Tape delay, 1/8 note |
| Bass | 20% | 22 kHz | 12 bit | — | 8 kHz | Minimal or none |
| Keys/Pads | 8% | 22–22 kHz | 12 bit | 100 Hz | 10 kHz | Dense room |
| Sampled loops | 10% | 22 kHz | 12 bit | 60–100 Hz | 10 kHz | Dub delay, tempo-synced |
For sampled loops specifically, saturation before sample-rate reduction produces aliasing behavior consistent with classic hardware. Reduce to 22 kHz, then apply a 12-bit depth reduction. Add a tempo-synced dub delay with filtered repeats for movement.
Keys and pads benefit from subtle detune (2–4 cents) and a slow chorus before the reverb send. This adds pitch instability that survives filtering without sounding obviously processed.
Mix clarity checklist: verify low-end mono compatibility (sum to mono and check for phase cancellation below 100 Hz), confirm transient definition on kick and snare survives bit reduction, and check that the high-shelf cut doesn't collapse the stereo image on pads.
How pro sound engineers evaluate lo-fi plugins
The single most important evaluation metric is artifact behavior under automation. A plugin that sounds great at a static setting but glitches, pops, or loses character when its drive or noise level is automated is not studio-ready.
Run every trial against this checklist:
- Per-lane EQ: can you shape the frequency response of each effect lane independently, or is EQ applied globally?
- Sample-rate handling: does the plugin oversample internally to avoid aliasing at the host rate, and can you set the target sample rate precisely?
- Soft vs. hard clipping: does the saturation stage offer a choice, and does it behave musically on transients?
- Format support: VST3, AU, and AAX are non-negotiable for professional DAW compatibility. Check the plugin architecture before purchasing.
- CPU and latency: measure CPU load at your session's buffer size. A plugin that adds latency must report it correctly so the DAW can compensate.
- Parameter precision: can you type in exact values, and do parameters respond smoothly to automation without zipper noise?
- Preset and modulation support: factory presets reveal the developer's intent; modulation routing reveals how deep the design goes.
During a trial, ask: does saturation behave differently on a kick transient versus a sustained pad? Does pitch wobble modulate with tempo when synced? Does artifact automation produce smooth level changes or audible steps? DAW stock tools in Ableton Live, FL Studio, and Logic Pro can cover basic lo-fi processing, but dedicated plugins with these feature flags produce more controllable, repeatable results.
Why harmony and arrangement matter for lo-fi
The single most effective musical strategy is to write with extended voicings and sparse arrangements so degradation sounds intentional. A plain triad filtered to 10 kHz sounds thin. A Cmaj7 or Am9 filtered to the same point retains harmonic density and warmth.
Extended chords — 7th, 9th, and 13th voicings — give degradation something to enhance rather than obscure. Jazzy voicings anchor the lo-fi sound at the arrangement level, which means the processing reads as character rather than damage. Keep chord voicings in the mid register (roughly C3 to C5) where filtering preserves the most harmonic content.
Arrangement spacing matters as much as chord choice. Leave the low mids open so saturation and filtering have room to add body without muddying the mix. Use subtle rhythmic variation in hi-hats and percussion so automated artifact layers breathe naturally with the groove rather than fighting it.
Combining hardware and software for lo-fi production
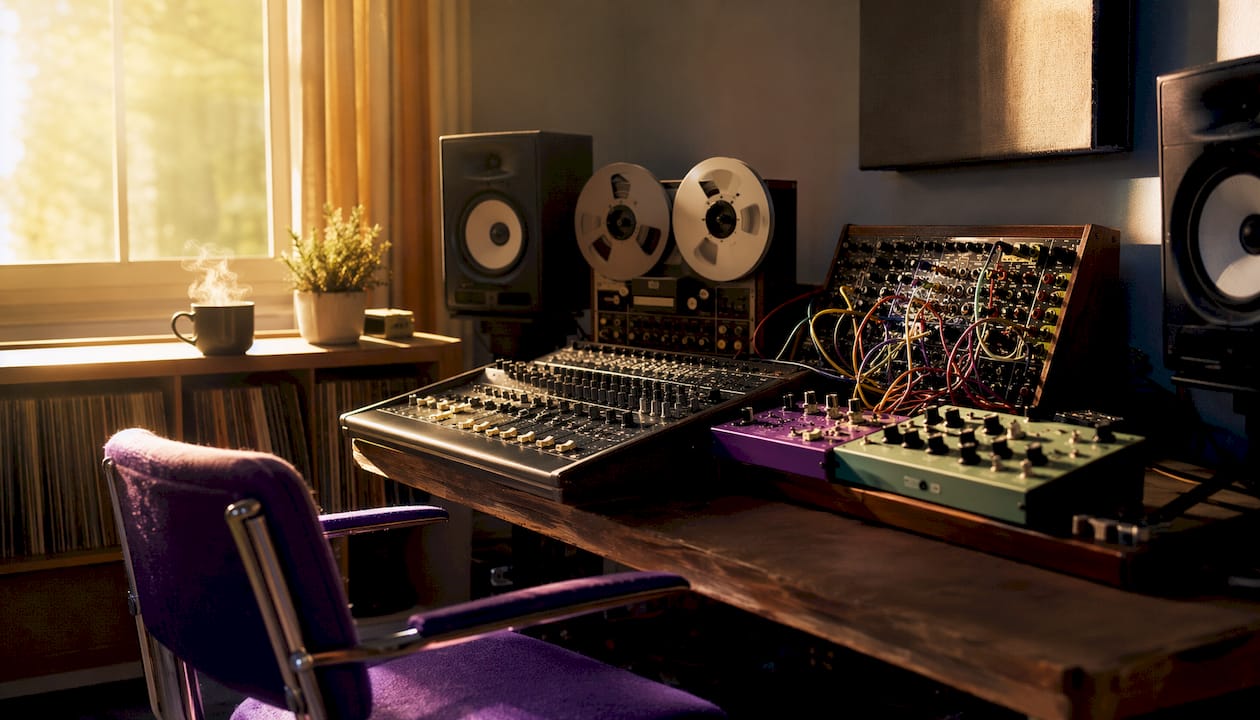
Software plugins handle the precision and repeatability side of lo-fi. Hardware adds the genuinely unpredictable behavior that's hard to model: real tape machines introduce speed variance that no plugin fully captures, and analog filters have component-level character that changes with temperature and age. The practical approach is to use hardware for one or two key elements and software for everything else.
A common hybrid setup routes a drum bus or a key sample through a hardware tape machine or a cassette deck for a single pass, then returns the audio to the DAW for plugin-based filtering and artifact layering. This gives you real tape saturation on the most prominent element without committing the entire mix to hardware. For sourcing curated vinyl and tape noise textures, ChillPod offers sample libraries specifically designed for artifact layering, which pairs well with software-based automation of those textures.
The hardware versus software decision ultimately comes down to workflow. Hardware is irreplaceable for one-take character; software is irreplaceable for recall, automation, and format compatibility. Most professional lo-fi sessions use both.
Key Takeaways
Professional lo-fi production requires five plugin roles applied per-track in a staged chain, not as a single master bus effect.
| Point | Details |
|---|---|
| Stage your chain per track | Apply saturation and filtering at the track level; reserve bus processing for dynamics and master for limiting only. |
| Use the lo-fi EQ curve | Set HPF at 60–100 Hz, cut the high shelf starting at 10–12 kHz, and carve mid-forward presence at 1–3 kHz. |
| Reduce sample rate on loops | Target 22 kHz with 12-bit depth reduction after saturation for authentic sampler grit on drum loops and samples. |
| Automate artifact levels | Automate vinyl and tape hiss send levels so textures swell in quiet passages and pull back during dense sections. |
| ToneLab for pro DSP | Vector-dsp's ToneLab covers all five plugin roles with per-lane EQ, low-latency DSP, and VST3/AU/AAX support. |
Why per-track processing beats master bus lo-fi every time
The conventional wisdom in a lot of lo-fi tutorials is to grab a single all-in-one plugin, drop it on the master, and call it done. That approach produces a result that sounds processed rather than recorded. The difference is audible within seconds on any decent monitoring setup.
What actually works is committing to the character at the track level. When saturation lives on the kick, the kick sounds like it was recorded that way. When filtering shapes the keys before they hit the bus, the keys sit in the mix rather than sitting on top of it. The multi-stage approach isn't more complicated. It's just more intentional, and intentionality is the entire point of lo-fi as an aesthetic.
The plugin evaluation step that most producers skip is testing artifact automation under real session conditions: a full arrangement, moving faders, and automation lanes running. That's where the difference between a studio-grade plugin and a novelty effect becomes obvious.
ToneLab by Vector-dsp: professional lo-fi DSP in one license
Producers who want all five lo-fi plugin roles covered in a single, studio-grade architecture should look at ToneLab from Vector-dsp. The concrete advantage over assembling a stack of separate plugins: ToneLab's multi-lane parallel effects architecture lets you apply per-lane EQ targeting to each processing stage independently, so saturation, filtering, and artifact layers each get their own frequency shaping without summing to a single global EQ.

ToneLab runs at low latency with real-time DSP and supports VST3, AU, and AAX, covering Ableton Live, FL Studio, Logic Pro, and Pro Tools in a single license. Parameters are automation-ready, which means artifact levels, drive, and filtering can all be written into your session without zipper noise or glitching. For producers who've been piecing together a lo-fi chain from five separate plugins, ToneLab consolidates that into one interface with the per-lane architecture that makes the multi-stage workflow genuinely manageable. Try the demo or view the full feature set at the ToneLab product page.
Sources and further reading
- Lo-Fi — Music Production Wiki: technical definitions of the four lo-fi pillars, filtering parameters, and saturation-before-downsampling chain.
- How to make lo-fi music — Soundtrap blog: per-track saturation workflow and artifact automation guidance.
- How to make lo-fi music — Native Instruments blog: harmonic and chord-voicing recommendations for lo-fi arrangement.
- How to make lo-fi music — Violet Recording: mid-forward EQ curve strategy and DAW stock tool integration.
- 8 Best Plugins for Lo-Fi Music Production — PluginDrop: plugin roundup covering dub delay, vinyl noise, and free starter options.
- Vector-dsp blog: DSP algorithm design, signal chain setup, and plugin architecture guides for deeper technical background.