Audio Software Testing Debugging Workflow for Developers
Audio Software Testing Debugging Workflow for Developers
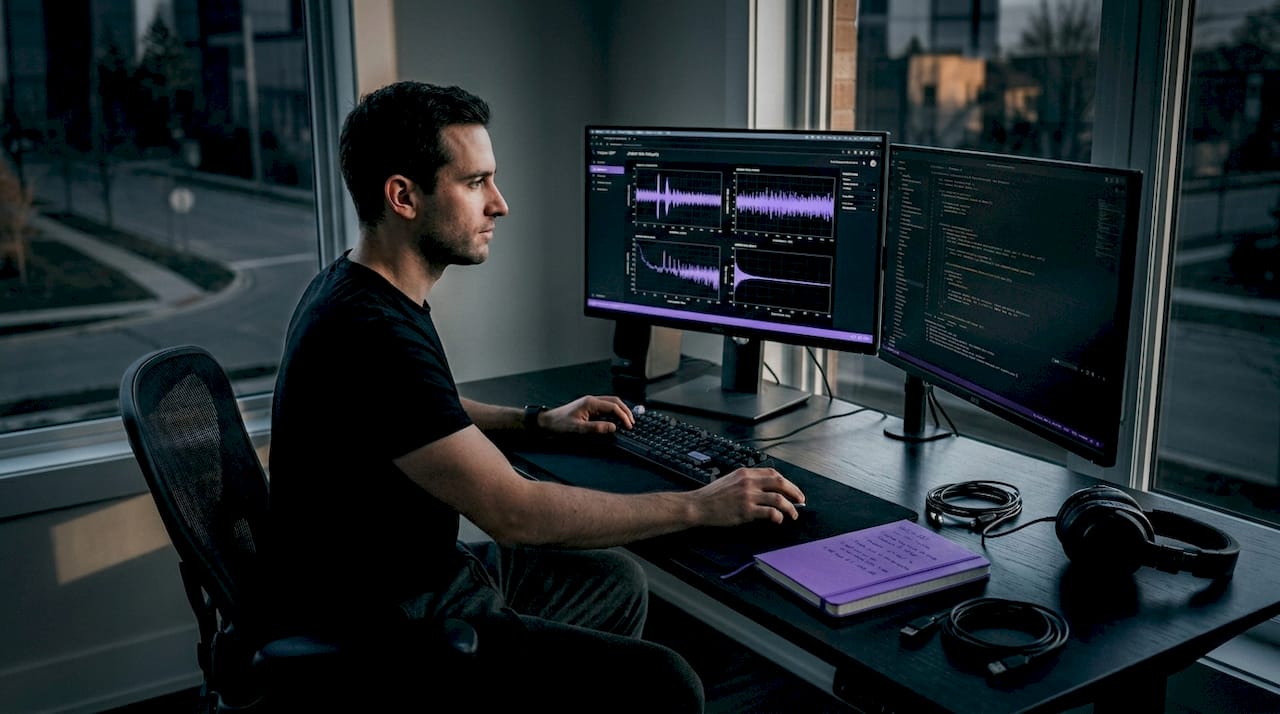
Building audio plugins that survive production environments requires more than good DSP math. A structured audio software testing debugging workflow separates plugins that ship with confidence from those that crash live sessions, introduce latency spikes, or pass QA only to fail in unexpected DAW configurations. The complexity runs deep: real-time threading constraints, host API variations, and the interplay between objective measurements and perceptual quality all demand a disciplined approach. This guide walks you through the tools, methods, and step-by-step stages you need to build a workflow that actually holds up under pressure.
Table of Contents
- Key Takeaways
- Your audio software testing debugging workflow setup
- Step-by-step testing workflow execution
- Audio debugging techniques and common pitfalls
- Verification and continuous monitoring
- My take on what actually works
- How Vector-dsp supports your testing workflow
- FAQ
Key Takeaways
| Point | Details |
|---|---|
| Layer your testing stages | Progress from unit tests through integration to system-level validation before any production build. |
| Use offline audio contexts | Decouple analysis from real-time playback to get stable, repeatable diagnostic results. |
| Combine objective and subjective tests | Frequency measurements alone miss perceptual issues; add structured listening tests to every QA cycle. |
| Debug with hypotheses, not patterns | Form a specific, testable hypothesis before reaching for automated tools or peer assistance. |
| Automate regression with CI | Integrate your test suite into a CI pipeline so every code change triggers measurable quality checks. |
Your audio software testing debugging workflow setup
No workflow survives contact with a poorly configured test environment. Before you write a single test, your hardware, software, and signal assets need to be locked down and reproducible.
Hardware requirements come down to three categories. You need a calibrated measurement microphone for acoustic validation if your plugin interacts with real-world signal chains. A dedicated audio interface with low-latency drivers (not your laptop's built-in I/O) provides the clean signal path your measurements depend on. For Bluetooth audio work, a test interface and device under test configured for LE Audio connections gives you analyzable frequency and distortion data from standardized test signals.
Software tools to have in place before you start:
- A debug-enabled build of your plugin with symbols intact and aggressive optimizations temporarily disabled
- An audio test suite capable of injecting signals and capturing output (REAPER, Plugindoctor, or a headless test runner via JUCE)
- A protocol analyzer for inspecting MIDI and audio bus communication at the API level
- Version control with branching discipline so you can use "git bisect` to narrow down regressions quickly
- A benchmark framework to profile real-time thread performance and CPU load under sustained processing
Test signal preparation matters more than most developers expect. Standardized test signals should cover the full 20Hz to 20kHz range with frequency sweeps, single-tone sine waves at multiple amplitudes, broadband noise, and harmonic-rich sequences. Store these as 32-bit float WAV files at the sample rates your plugin targets. One missing sample rate in your test library means an entire class of bugs stays invisible until a user reports it.
Environment isolation is non-negotiable. Set up a dedicated test machine or a containerized environment where no other audio applications are running. Offline audio contexts prevent timing issues that live playback introduces. Running your analysis offline produces stable RMS and frequency metrics that you can compare across builds without worrying about system load variability.
Pro Tip: Version your test signal library alongside your plugin source code. A signal that "just worked" six months ago but has been silently modified will invalidate entire test runs without any obvious error.
| Tool category | Example tools | Primary purpose |
|---|---|---|
| Signal injection | JUCE test runner, Plugindoctor | Generate and route controlled audio through your plugin |
| Analysis and measurement | Room EQ Wizard, OpenTest | Capture frequency response, THD, and noise floor |
| Profiling | Intel VTune, Instruments (macOS) | Identify real-time thread bottlenecks and CPU spikes |
| Version control | Git with bisect | Isolate regression-causing commits |
| CI integration | GitHub Actions, Jenkins | Automate testing on every push |
Step-by-step testing workflow execution
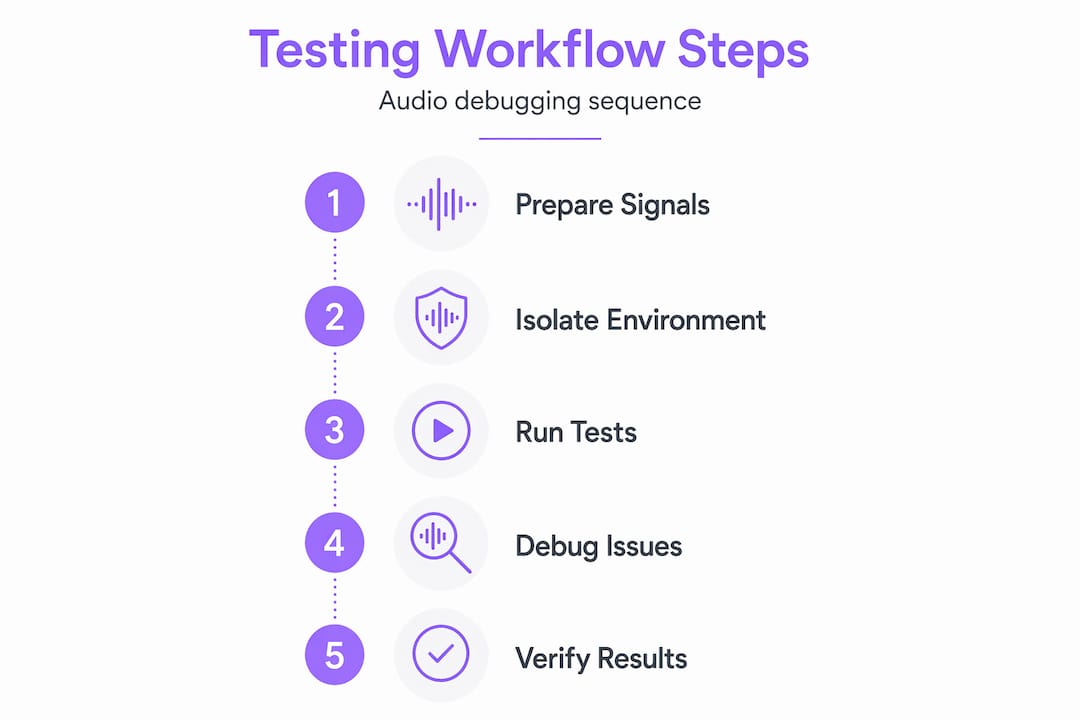
A well-structured audio software testing debugging workflow follows a clear progression. Skipping stages does not save time. It moves the cost of bugs from development to production, where they are exponentially more expensive to fix.
-
Unit test individual DSP modules. Test your filters, gain stages, and saturation algorithms in complete isolation. Use mock audio buffers with known input values and assert on expected output values within a defined tolerance. Any DSP function that processes samples should have a corresponding unit test before it touches an integration build.
-
Inject signals and run loopback tests. Feed your standardized test signals through the full plugin processing chain and capture the output. Compare frequency response curves, total harmonic distortion, and noise floor against your baseline measurements. Deviation from baseline is your first signal that something has changed.
-
Apply objective measurement protocols. Effective audio testing uses frequency sweeps, sine wave injections, and sequence tests to detect distortion and frequency response anomalies with measurement microphones and dedicated capture software. Run these at multiple sample rates and buffer sizes. A plugin that tests clean at 44.1kHz and a 512-sample buffer may behave differently at 96kHz and 64 samples.
-
Run subjective listening tests. Objective measurements catch technical failures. They do not catch perceptual ones. Set up structured A/B listening sessions with reference material that stresses your plugin's processing: transient-heavy percussion, dense harmonic content, and low-level ambient textures. Bring in a second listener if possible. Your ears get habituated fast.
-
Profile for real-time performance. A plugin that distorts under load is not a distortion plugin. Run your profiler while the plugin processes audio at maximum polyphony or maximum parameter automation density. Look for thread contention, memory allocations in the audio callback, and any system call that could block the real-time thread. Your VST3 plugin development context matters here: different hosts schedule audio threads differently, and a bottleneck invisible in one host can cause dropouts in another.
Pro Tip: Run your loopback tests at buffer sizes of 32, 64, 128, 256, and 512 samples minimum. Bugs in your latency compensation logic almost always surface at the extremes, not the defaults.
Audio debugging techniques and common pitfalls
When tests fail or behavior becomes unpredictable, targeted debugging strategies cut resolution time significantly. The key is working systematically rather than reactively.
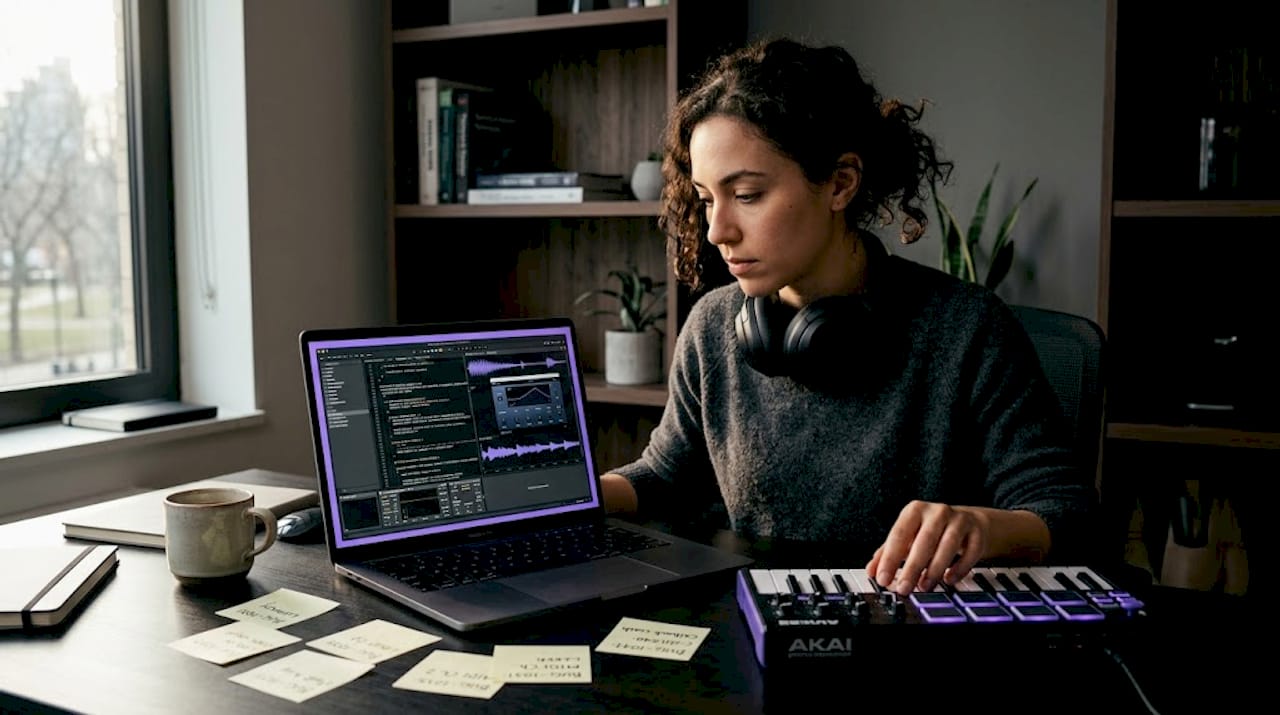
Divide and conquer is the single most effective strategy for complex audio signal chains. Isolate individual segments by piping intermediate audio outputs to files instead of routing them onward. This prevents what developers call "ghost device crashes" caused by OS-level audio bus locking through APIs like WASAPI or PortAudio. If the isolated segment sounds correct, the bug is downstream. If it sounds wrong, you have cut your search space in half.
Forward and backward tracing serve different bug profiles. Forward tracing follows execution from input to output and works well for logic errors. Backward tracing starts at the failure point and works upward toward the cause. Professional debugging workflows combine both and use git bisect to confirm when a regression was introduced before spending time reading code.
Common pitfalls worth watching for:
- Latency mismanagement: Failing to report accurate latency to the host causes timing drift in DAW projects and breaks plugin delay compensation. Always verify your reported latency matches your actual processing delay.
- Audio thread violations: Any memory allocation, mutex lock, or file I/O call inside your audio callback will eventually cause a dropout. These are often invisible under light load and catastrophic under heavy load.
- Bus contention: When multiple plugin instances share audio bus resources, interleaving issues can produce clicks, silence, or corrupted samples that appear intermittent and unrelated.
- Parameter smoothing failures: Abrupt parameter changes without smoothing introduce clicks. This is one of the most common user-reported bugs and one of the easiest to prevent with a one-pole filter on every automatable parameter.
"Debugging failures often arise from pattern-matching heuristics rather than hypothesis-driven testing. Spending initial debugging time unaided, forming a clear hypothesis before using AI or peer assistance, produces more reliable diagnostic outcomes."
Use conditional breakpoints strategically. Breakpoints inside audio callbacks break real-time behavior and can deadlock your host. Instead, write diagnostic state to a lock-free ring buffer and read it from a non-real-time thread. Visualization tools that plot your plugin's output spectrum and level over time make intermittent artifacts visible without interrupting the audio thread.
Pro Tip: When logging from audio code, pre-allocate your log buffer at initialization and write to it with atomic operations. Never format strings inside the audio callback.
Verification and continuous monitoring
Fixing a bug once is not enough. A production-grade audio software QA process requires systematic verification and ongoing monitoring so that bugs do not silently reappear across plugin updates.
-
Define objective acceptance thresholds. Your test suite should fail automatically if WER, THD, latency, or noise floor metrics drift outside predefined bounds. Industry-standard audio testing uses at least 15 diverse test scenarios covering clean signals, noisy environments, and edge cases, with metrics like Real-Time Factor and Character Error Rate as quantifiable gates.
-
Integrate your test suite into a CI pipeline. Every push to your main branch should trigger a full automated test run. CI pipelines for audio plugins combine mock signal injection, objective measurement, and performance metrics in a single automated pass that reports failures before they reach a build artifact.
-
Deploy monitoring hooks for production builds. Instrument your plugin with lightweight telemetry that logs CPU load, buffer underruns, and parameter state at the edge of your processing limits. Use authenticated debug channels for field devices. MIPI security standards mandate transport-agnostic authenticated debug interfaces, a model worth adopting for any plugin that ships to enterprise or hardware-integrated environments.
-
Collect user feedback systematically. Telemetry alone misses perceptual quality degradations that users notice but metrics do not capture. Build a structured feedback loop with a small beta user group and map their reports against your telemetry data.
| Verification method | What it catches | Automation potential |
|---|---|---|
| Objective regression tests | THD changes, latency drift, noise floor shifts | High: runs on every commit |
| Subjective listening panels | Perceptual quality regression, coloration artifacts | Low: requires human evaluation |
| Performance profiling | CPU spikes, thread contention, memory leaks | Medium: automated thresholds, manual review |
| Field telemetry | Production dropout rates, edge-case failures | High: continuous logging |
Using ISO 532-1 loudness and ECMA-74 tonality metrics converts subjective quality descriptors into quantifiable engineering data. This matters for regression analysis because "it sounds brighter" becomes "tonality index increased by 0.3 acum," which is a number your CI system can track.
My take on what actually works
I've watched developers burn entire sprints chasing audio bugs that a ten-minute structured hypothesis would have solved in the first session. The honest problem with debugging audio applications is that the feedback loop feels fast, so it's tempting to make changes and listen, make changes and listen, over and over without ever writing down what you expected to happen. That approach works until it doesn't, and when it stops working, you have no trail to follow.
What I've learned is that hypothesis-driven debugging is not slower. It's consistently faster, because each test either confirms or eliminates a specific suspect. The pattern-matching approach that most developers default to under pressure produces a lot of confident-sounding changes that don't fix anything and sometimes introduce new problems.
The other thing I've seen underestimated repeatedly is the role of subjective listening in a workflow that is otherwise fully objective. Metrics tell you what changed. They do not tell you whether that change matters. I've seen plugins pass every measurement gate and still sound wrong in a mix because a phase relationship subtly degraded. You need both. The psychoacoustic principles behind how listeners perceive coloration and space are directly relevant to what your test signals should stress and what your listening sessions should target.
Start your testing earlier than feels necessary. A bug found in the unit testing stage costs minutes. The same bug found in a production session costs hours and possibly a client relationship.
— Kai
How Vector-dsp supports your testing workflow

Vector-dsp builds professional audio plugins with DSP precision, real-time performance, and thorough QA at the core of every development cycle. If you are looking for tools that integrate directly into a disciplined testing and debugging workflow, the Vector-dsp plugin suite is built on the same architecture this article describes: low-latency real-time processing, standard plugin formats (VST3, AU, AAX), and thoughtful DSP design that reduces the surface area for hard-to-diagnose bugs. Explore ToneLab as a practical workflow asset that complements the testing and verification stages covered above.
FAQ
What is the first step in an audio software testing workflow?
Start with unit tests on individual DSP modules using mock audio buffers before any integration or system-level testing. Catching failures at this stage is the least expensive point in the development cycle.
How do you debug audio thread violations in a plugin?
Never use blocking calls, memory allocations, or mutexes inside the audio callback. Write diagnostic data to a lock-free ring buffer and inspect it from a non-real-time thread to identify violations without disrupting audio processing.
What metrics should audio plugin regression tests track?
Track total harmonic distortion, noise floor, reported latency, and CPU load at minimum. For speech-processing plugins, add WER and Real-Time Factor as quantitative accuracy and speed gates.
Why combine subjective listening tests with objective measurements?
Objective measurements detect technical deviations but miss perceptual quality shifts. Structured listening sessions with reference material catch coloration, phase artifacts, and staging changes that measurement tools do not surface.
How does continuous integration improve audio software QA?
CI pipelines run your full test suite automatically on every code commit, catching regressions before they reach a release build. Automated testing pipelines combine signal injection, objective analysis, and performance profiling in a single reproducible pass.