Why Use Metering Plugins: a Producer's 2026 Guide
Why Use Metering Plugins: a Producer's 2026 Guide

Metering plugins are defined as software tools that display real-time visual feedback on audio signal parameters, including loudness, peak levels, frequency content, and stereo phase. Every professional mix must meet delivery standards set by platforms like Spotify, Apple Music, and broadcast networks, and metering plugins are the primary way producers verify compliance before export. The industry standard ITU-R BS.1770 governs loudness measurement globally, and without a dedicated meter, hitting those targets accurately is guesswork. Understanding why use metering plugins comes down to one fact: your ears alone cannot catch every technical problem in a mix.
Why use metering plugins in your mix workflow
Metering plugins give you objective data where your ears give you subjective impressions. Ear fatigue sets in after 30–60 minutes of focused listening, and room acoustics color every decision you make. A meter does not get tired, and it does not care whether your monitoring environment is treated or not. Producers who rely on objective measurement catch issues that hearing alone misses, including clipping, phase cancellation, and loudness inconsistency.
The benefits of metering plugins extend beyond catching errors. They build a repeatable, professional workflow. When you know your mix reads at a specific integrated LUFS value, you can deliver confidently to any platform without surprises at the mastering stage.
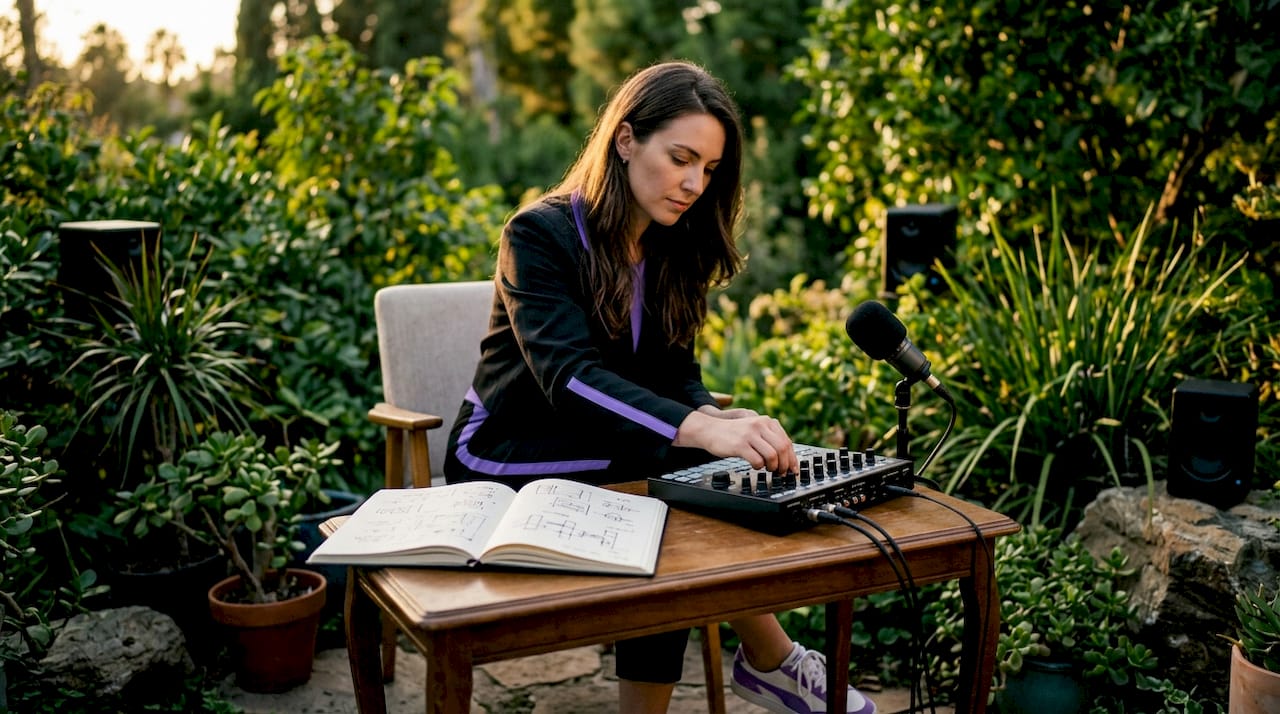
What measurements do metering plugins provide?
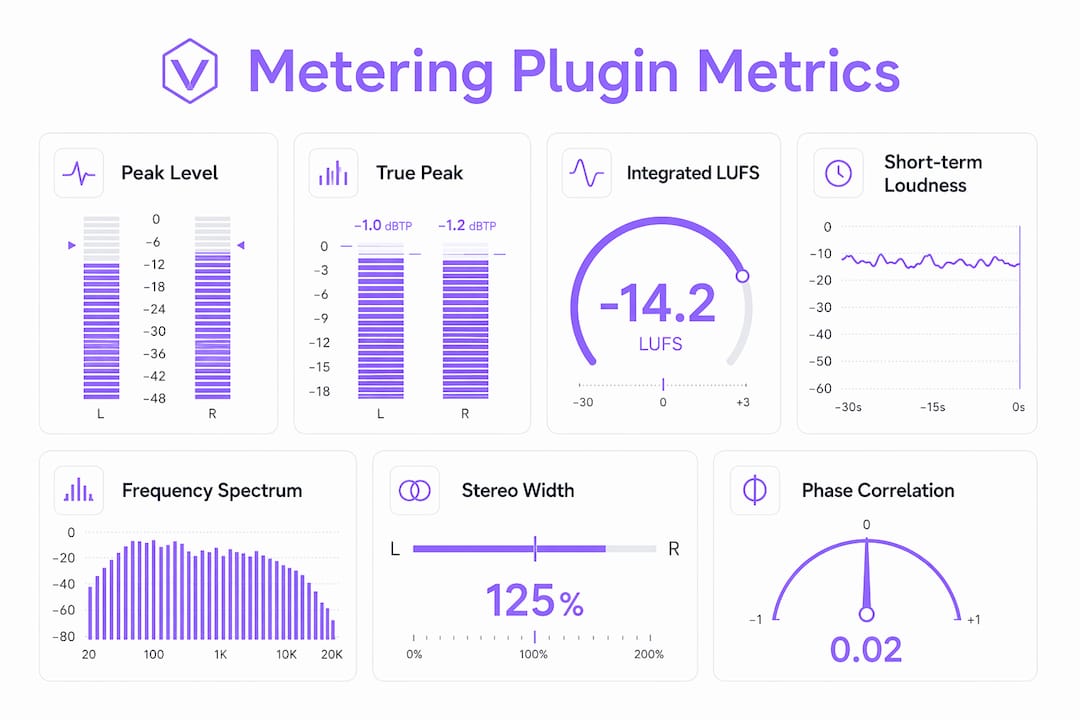
Modern metering covers five core measurement types, and each one addresses a different failure point in a mix.
- Level meters (Peak and True Peak): These show the instantaneous maximum signal level and prevent digital clipping. True Peak meters account for inter-sample peaks that standard peak meters miss, which is critical for streaming delivery where codecs can push levels above 0 dBFS during encoding.
- LUFS meters (Integrated and Short-Term): LUFS stands for Loudness Units relative to Full Scale. Integrated LUFS measures average loudness across an entire track, while short-term LUFS measures loudness over a three-second window. Spotify normalizes to approximately -14 LUFS integrated, and Apple Music targets -16 LUFS. Hitting those targets requires a dedicated LUFS meter.
- Spectrum analyzers: These display frequency content across the audible range in real time. A spectrum analyzer reveals whether your low end is overloaded, whether your high frequencies are harsh, and whether your mix has a balanced frequency distribution before you make an EQ decision.
- Goniometers: A goniometer visualizes stereo width and imaging. A healthy stereo mix shows a roughly oval or diamond shape on a goniometer. A collapsed or narrow shape signals a mix that may sound thin on wide speakers.
- Phase correlation meters: These measure the relationship between left and right channels. Maintaining phase correlation above +0.5 for most of the mix prevents cancellation problems when the track plays back in mono, which still matters for phone speakers, club PA systems, and broadcast.
Producers who use all five meter types cover the full range of technical requirements for modern streaming standards. Skipping any one of them leaves a blind spot.
How does gain staging improve mixing accuracy?
Gain staging is the practice of setting signal levels at each point in your signal chain so that every plugin operates in its designed range. Proper gain staging targets approximately -18 dBFS RMS at the input of each plugin, particularly when using analog-modeled processors calibrated to 0 VU. That reference point is where those plugins were designed to sound their best.
Without a meter at the top of each plugin chain, gain staging is impossible to verify. You may think a compressor is working correctly, but if the input is hitting it 6 dB too hot, it is compressing harder than intended and adding unwanted coloration. A level meter placed before the compressor shows you exactly what the plugin receives.
The master bus is the most critical metering point in any session. A meter on the master bus catches cumulative gain buildup from multiple tracks before it causes clipping at the output. Placing meters at the top of plugin chains and on the master bus is the single most effective structural habit a producer can build.
- Insert a level meter at the start of each channel strip to confirm input levels before any processing.
- Set channel faders so the signal reads near -18 dBFS RMS on the level meter.
- Apply makeup gain after compression to restore output level, then verify with the meter again.
- Insert a full-suite meter on the master bus covering LUFS, True Peak, and phase correlation.
- Check integrated LUFS only after the arrangement is complete, not during individual track editing.
Pro Tip: VU meters are not analog nostalgia. A VU meter plugin provides slow-averaging energy readings that help you maintain a stable average level rather than chasing momentary peaks, which produces more natural, musical balance decisions across a session.
What are the real-world advantages of metering plugins?
The most practical advantage of metering tools is that they compensate for two problems every producer faces: ear fatigue and imperfect monitoring environments. After hours of work, your perception of loudness, frequency balance, and dynamics shifts. A meter reads the same at hour one as it does at hour eight.
"Meters provide objective data that counteracts ear fatigue and imperfect monitoring environments, but they do not replace the ears for final creative decisions. Meters protect delivery integrity and help catch issues missed by hearing alone."
Loudness normalization on streaming platforms is a direct financial and creative concern. A track that peaks at -8 LUFS integrated will be turned down significantly by Spotify's normalization algorithm, which makes it sound quieter and thinner than intended. A track mastered to the platform's target sounds exactly as intended on first play.
Loudness history graphs that display integrated LUFS over time give producers a visual map of dynamic structure across a full track. That view reveals whether a chorus is landing with the right energy lift, whether a breakdown drops far enough, and whether the overall arc of the song reads as intended. A single real-time number cannot show you that.
The Peak-to-Short-term Loudness Ratio, known as PSR, measures the gap between peak level and short-term loudness. Mastering engineers recommend a PSR of about 8 after final processing to preserve musical punch. A PSR that drops below that threshold signals over-compression, where the mix has lost its transient energy and sounds flat. Watching PSR during mastering tells you when to stop compressing before the music loses life.
Metering plugins also support better decisions under challenging monitoring conditions. Producers working on laptop speakers or consumer headphones cannot trust their perception of bass or stereo width. A spectrum analyzer and goniometer provide ground truth that compensates for what those monitoring systems cannot reproduce accurately.
Why does consistency in meter selection matter?
Not all metering plugins read identically. Different LUFS meters can show variance up to 0.7 dB on the same audio file due to differences in gating threshold implementations and weighting algorithms. That variance is small but meaningful when you are targeting a specific platform loudness spec with a tolerance of 1 dB.
The solution is straightforward: pick one trusted meter and use it throughout every project. Switching between meters mid-session introduces reference confusion. If your integrated LUFS reads differently on two plugins, you cannot know which one is correct without a reference file, and that interrupts workflow at the worst possible moment.
CPU cost and screen real estate are real considerations when running multiple meters simultaneously. A full-suite meter on the master bus covers most needs without loading individual meters on every channel. Reserve per-channel metering for gain staging checks during the mixing phase, then consolidate to a single master bus meter for the final review.
Establishing a metering template with preloaded analysis tools on the master bus before starting any session is the professional standard. That template loads your trusted meter automatically, sets your reference points, and removes the decision from your workflow entirely.
Pro Tip: Save a DAW session template with your preferred meter already inserted on the master bus and configured to your target platform's loudness spec. You will never start a session without objective reference again.
| Feature category | Entry-level approach | Professional approach |
|---|---|---|
| LUFS metering | Free plugin, manual checks | Full-suite meter with history graph |
| Peak monitoring | Basic peak meter | True Peak meter with inter-sample detection |
| Stereo analysis | No dedicated tool | Goniometer plus phase correlation meter |
| Gain staging | Visual estimate | Level meter on every plugin chain input |
| Session setup | Ad hoc meter insertion | Preloaded metering template |
Key Takeaways
Metering plugins are the most reliable way to verify mix accuracy, meet streaming loudness standards, and maintain consistent signal levels throughout every production stage.
| Point | Details |
|---|---|
| Use five meter types | Level, LUFS, spectrum, goniometer, and phase correlation cover all technical delivery requirements. |
| Target -18 dBFS RMS | Set input levels at this reference point before any plugin processing to avoid distortion. |
| Watch PSR during mastering | A PSR of about 8 preserves musical punch and signals when compression has gone too far. |
| Stick to one LUFS meter | Variance up to 0.7 dB between meters makes consistency in tool selection critical for accuracy. |
| Build a session template | Preloading meters on the master bus removes setup friction and guarantees continuous reference. |
What consistent metering taught me about mixing
The shift that changed my mixes most was not a new compressor or a better EQ. It was committing to a metering template that loaded automatically with every session. Before that, I was making loudness decisions by feel, and my masters were inconsistent from project to project. Some translated well. Others did not, and I could never explain why.
What I found after building a proper metering workflow was that the problem was almost always gain staging upstream. Channels were hitting the master bus at wildly different levels depending on how I had built the session. The meters made that visible immediately. Once I could see the problem, fixing it took minutes instead of hours of troubleshooting by ear.
The loudness history graph was the second revelation. Watching integrated LUFS build over the length of a track showed me that my arrangements were often too consistent in energy. The chorus was not landing 2–3 LUFS louder than the verse. It just felt louder because of arrangement choices, not actual dynamic contrast. That visual feedback pushed me to make bolder arrangement decisions.
Meters do not replace ears. The final call on whether a mix sounds right is always a listening decision. But meters remove the technical uncertainty that makes creative decisions harder. When you know the levels are correct, you can focus entirely on whether the music works. That separation of technical and creative judgment is what metering plugins actually give you.
— Kai
Vector-dsp ToneLab: metering built for professional producers
Producers who want metering integrated directly into their mixing workflow should look at what Vector-dsp has built with ToneLab.

ToneLab combines advanced signal analysis with creative mixing tools in a single plugin, designed around the audio plugin setup principles that professional producers rely on daily. It addresses the core metering needs covered in this article, including loudness monitoring, level control, and stereo analysis, without requiring a separate meter on every channel. The plugin runs in VST3, AU, and AAX formats, making it compatible with every major DAW. Visit the ToneLab product page to see the full feature set and find out how it fits your production workflow.
FAQ
What do metering plugins actually measure?
Metering plugins measure peak level, True Peak, integrated LUFS, short-term loudness, frequency spectrum, stereo width, and phase correlation. Each measurement addresses a specific technical requirement in professional mixing and mastering.
How do I use metering plugins for gain staging?
Place a level meter at the input of each plugin chain and set your signal to read near -18 dBFS RMS before any processing begins. This keeps analog-modeled plugins operating in their designed range and prevents cumulative distortion.
Why does my LUFS meter read differently from another producer's?
Different LUFS meters implement gating thresholds and weighting algorithms differently, which can produce readings that vary by up to 0.7 dB on identical audio. Using one trusted meter consistently throughout a project eliminates that confusion.
Do metering plugins replace listening with your ears?
Meters provide objective data that compensates for ear fatigue and poor monitoring conditions, but they do not replace creative listening. The final judgment on whether a mix sounds right is always a decision made by ear.
When should I check integrated LUFS during a mix?
Check integrated LUFS only after your arrangement is complete and levels are set. Checking too early gives a misleading reading because the loudness average changes significantly as tracks are added or removed.