Home Studio Audio Plugin Setup: a Producer's Guide
Home Studio Audio Plugin Setup: a Producer's Guide

A home studio audio plugin setup is the process of selecting, installing, and organizing digital signal processing tools within a DAW to shape sound with professional precision. Getting this right from the start prevents CPU overload, DAW crashes, and the kind of workflow paralysis that kills creative momentum. The good news: you don't need hundreds of plugins. A focused setup built around essential plugin categories and industry standards like VST3 delivers professional results without the chaos. This guide covers exactly what to install, how to configure it, and how to keep everything running clean.
What does a home studio audio plugin setup actually need?
A home studio only needs five core plugin categories to cover 90% of professional mixing requirements. That statistic matters because it means you can stop chasing plugins and start making music. The five categories are synthesizer, equalizer, compressor, reverb, and limiter. Each one handles a distinct job in the signal chain, and together they cover everything from sound design to final loudness control.
Beyond those five, utility plugins fill the gaps. Metering tools like spectrum analyzers and loudness meters help you make objective decisions rather than guessing. Routing plugins manage signal flow in complex sessions. Neither category requires expensive purchases at the start.
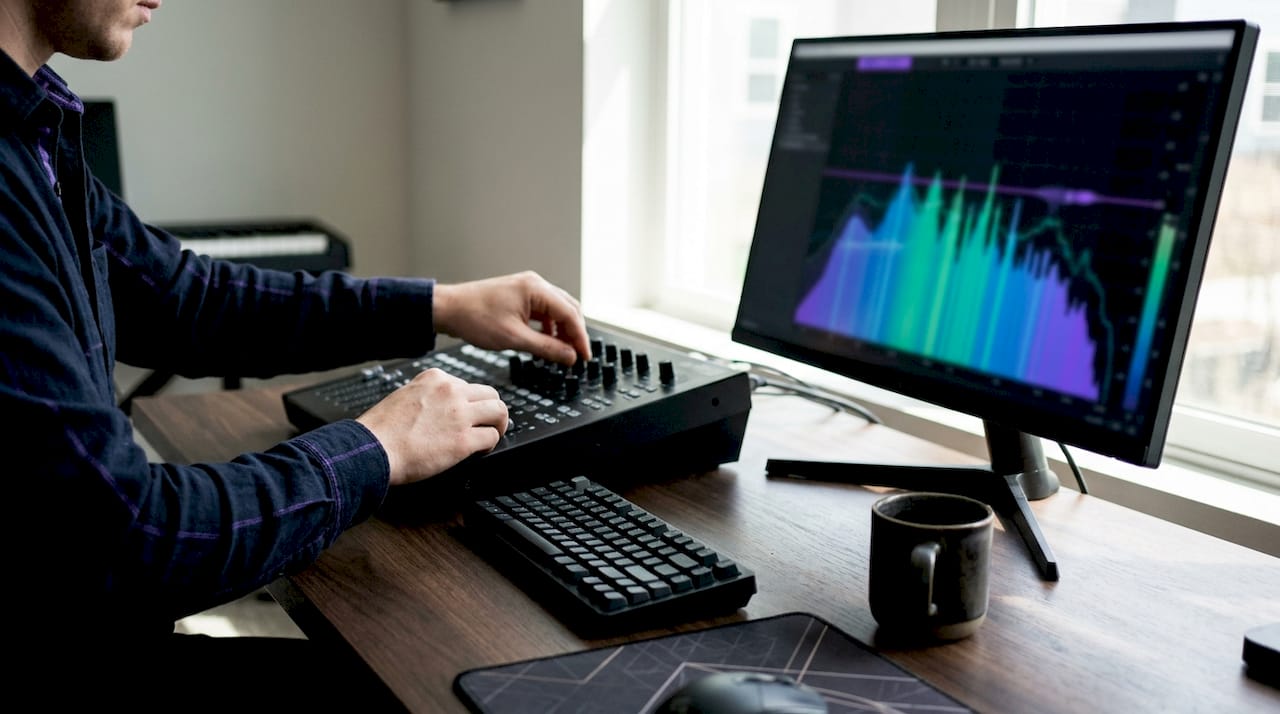
Producers who are just getting started have access to over 70 professional-grade plugins for free through bundles like MeldaProduction MFreeFXBundle, Kilohearts Essentials, and Native Instruments Komplete Start. These bundles cover mixing, mastering, and creative sound design without any upfront cost. That breadth means a producer can build a complete home studio plugin essentials list before spending a dollar.
Pro Tip: Build your first plugin list around one tool per category. One EQ, one compressor, one reverb. Depth of knowledge with fewer tools beats shallow familiarity with dozens.
How do you install and configure audio plugins properly?
Proper installation is where most producers lose time. Follow these steps to get every plugin recognized and running without errors.
-
Download the correct format and architecture. Always choose 64-bit plugins in VST3, AU, or AAX format to match your DAW and operating system. Architecture mismatch between a 64-bit DAW and a 32-bit plugin is the most common reason a plugin disappears after installation. The DAW silently blacklists it, and you get no error message.
-
Install to the default folder path. On Windows, VST3 plugins belong in
C:\Program Files\Common Files\VST3. On macOS, the path is/Library/Audio/Plug-Ins/VST3for system-wide access or~/Library/Audio/Plug-Ins/VST3for user-only. Deviating from these paths forces you to manually add custom scan folders in every DAW you use. -
Authorize your license. Most commercial plugins require activation through a license manager like iLok License Manager or a vendor's own desktop app. Complete this step before opening your DAW. Launching a plugin without a valid license often triggers a grace-period countdown or a full lockout.
-
Run a plugin scan in your DAW. After installation, open your DAW and trigger a manual plugin scan. In most DAWs, this lives under Preferences or Plugin Manager. Check the results list for any plugins marked as failed or blacklisted.
-
Troubleshoot missing plugins. If a plugin doesn't appear, verify the install path, confirm the bit architecture matches, and check the DAW's blacklist. Remove the plugin from the blacklist, reinstall it, and rescan. Repeat until it shows up clean.
Pro Tip: Keep a plain text file that logs every plugin you install, its format, version, and install date. When something breaks after an OS update, that log cuts your troubleshooting time in half.
How should you organize plugins for a stable workflow?
Plugin organization is an ongoing practice, not a one-time task. Treat plugin management as hygiene, the same way you maintain your audio interface drivers or back up your projects. Letting it slide causes crashes, missing plugins, and wasted session time.
The core principles for a stable, efficient setup:
- Keep plugin folders flat. Overly nested subfolder structures cause DAW scanning errors and break project compatibility when you share sessions across different machines or operating systems. One folder per format is enough.
- Maintain a consistent sample rate. Mixing sample rates across a project causes clicks, pops, and in some DAWs, full crashes. Set your project and audio interface to the same rate, typically 44.1 kHz or 48 kHz, and don't change it mid-session.
- Disable auto-scan at startup. Most DAWs offer an option to skip the plugin scan on launch. Enabling this after your initial setup cuts startup time significantly and avoids false blacklisting from plugins that load slowly.
- Turn off plugin visualizers when not needed. Spectrum displays, oscilloscopes, and animated GUIs draw GPU and CPU resources even when you're not looking at them. Close plugin windows when you're done adjusting settings.
- Use your DAW's built-in plugin manager. Most modern DAWs include a plugin manager that lets you hide, group, or favorite plugins. Use it instead of creating complex folder hierarchies outside the DAW.
| Organization practice | Why it matters |
|---|---|
| Flat plugin folders | Prevents scan errors and cross-OS compatibility issues |
| Consistent sample rate | Eliminates clicks, pops, and session crashes |
| Disable startup auto-scan | Reduces launch time and false blacklisting |
| Close visualizer windows | Frees CPU and GPU during mixing |
| Use DAW plugin manager | Replaces complex folder structures with in-app grouping |
Good plugin organization tips pay off every session. The producers who skip this step spend more time fixing problems than making music.
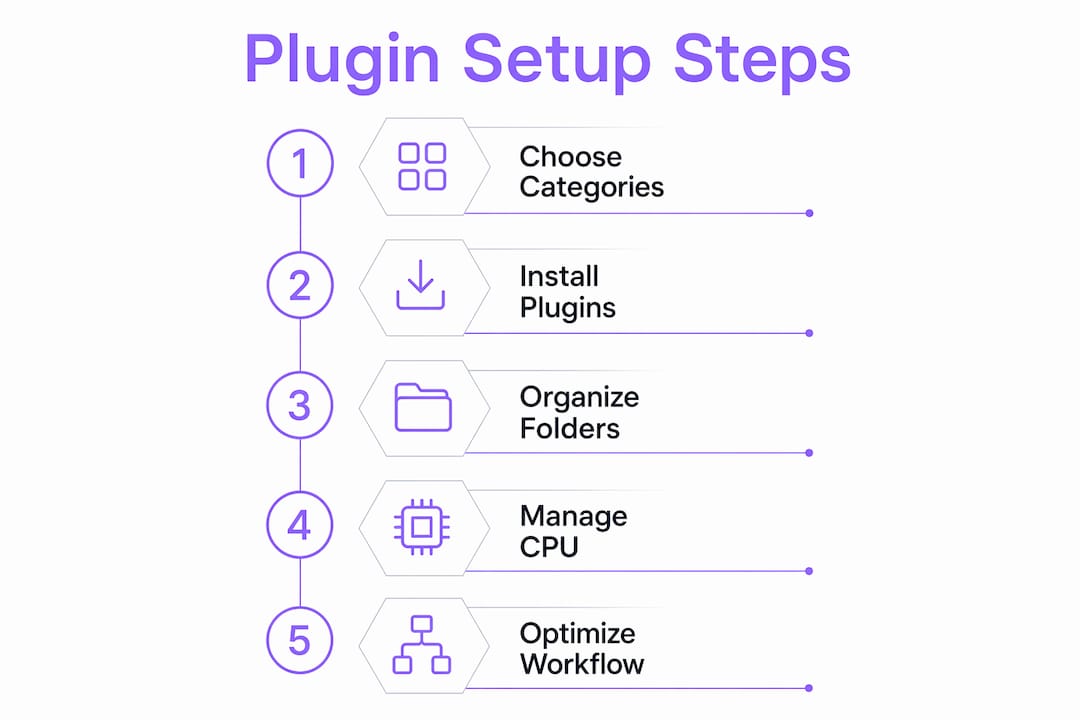
What are the best ways to reduce CPU load from plugins?
CPU management separates a stable home studio from a frustrating one. The single biggest win comes from choosing VST3 as your primary plugin format. VST3 plugins suspend processing automatically when no audio signal passes through them. In a dense project with 40 tracks, that suspension adds up to a meaningful reduction in CPU load compared to older formats that keep processing regardless of signal.
Limit the number of simultaneous plugin instances on active tracks. Running eight instances of a CPU-heavy reverb on eight separate tracks is avoidable. Use a single reverb on an aux send and route multiple tracks to it. That approach cuts the CPU cost of reverb from eight instances to one.
Bounce tracks to audio once you've committed to a sound. Frozen or bounced tracks consume almost no CPU because the DAW plays back a rendered audio file instead of recalculating the plugin chain in real time. This is especially useful for synthesizer tracks with complex modulation.
Pro Tip: Check your DAW's performance meter by plugin, not just the overall CPU bar. Most DAWs show per-plugin CPU usage in the plugin manager. One poorly coded plugin can consume more resources than ten well-built ones. Identify it and replace it.
Understanding VST3's CPU advantages gives you a concrete reason to prioritize that format when choosing new tools. It's not just a compatibility preference. It's a performance decision.
Key Takeaways
A proper home studio audio plugin setup requires five core plugin categories, correct format selection, flat folder organization, and active CPU management to stay stable and professional.
| Point | Details |
|---|---|
| Five plugin categories cover most needs | Synthesizer, EQ, compressor, reverb, and limiter handle 90% of professional mixing tasks. |
| VST3 reduces CPU load automatically | VST3 suspends processing when idle, making it the best format for dense projects. |
| Architecture match prevents missing plugins | Always install 64-bit plugins to match a 64-bit DAW and avoid silent blacklisting. |
| Flat folders prevent scan errors | Keep plugin directories simple to avoid DAW scanning failures and cross-OS issues. |
| Wait before buying third-party plugins | Use stock plugins for 3–6 months to identify real gaps before spending money. |
What I've learned about plugin setups that most guides skip
Most plugin setup guides focus on what to buy. The harder lesson is what not to buy, and when.
The biggest bottleneck in most home studios isn't the plugin library. Monitoring quality and acoustic treatment are the real limiters. If your room colors the sound and your monitors can't reveal subtle frequency problems, a $300 EQ plugin won't fix what you can't hear. Spending money on acoustic panels before third-party plugins is the less exciting choice, but it's the one that actually changes your results.
Stock DAW plugins are genuinely good in 2026. The EQ, compressor, and reverb that shipped with your DAW are capable of professional results in the hands of someone who knows how to use them. The producers who master those tools first develop better ears and better instincts. The ones who skip straight to third-party gear often spend more time browsing presets than learning signal flow.
My honest recommendation: wait at least 3–6 months before purchasing any third-party plugin. That window gives you time to identify a real gap in your workflow rather than buying something because it looked good in a YouTube video. Redundant plugins don't improve your sound. They tax your CPU and clutter your plugin menu.
The producers I've seen build the best setups share one habit. They treat their plugin list like a tool kit, not a collection. Every tool has a job. If it doesn't have a job, it doesn't stay.
— Kai
What Vector-dsp offers for your plugin setup
Building a professional plugin setup takes more than a good list. It takes tools built to the right standard, with real-time performance and low latency at the core.

Vector-dsp develops professional audio plugins built on advanced DSP technology, using industry-standard formats including VST3, AU, and AAX. The focus is on precision and performance, the kind of tools that fit into a well-organized setup without adding CPU overhead or compatibility headaches. Whether you're refining your signal chain or building a new studio from scratch, explore Vector-dsp's tools to see what's available and what's coming. The format differences guide is a strong starting point if you're still deciding which plugin format fits your DAW.
FAQ
What plugins does a home studio actually need?
A home studio needs five plugin categories: synthesizer, equalizer, compressor, reverb, and limiter. These five categories cover 90% of professional mixing requirements.
What is the best plugin format for home studio use?
VST3 is the recommended format for Windows-based home studios. It offers automatic processing suspension when idle, which reduces CPU load in complex sessions.
Why don't my plugins show up after installation?
The most common cause is a bit architecture mismatch. A 32-bit plugin installed into a 64-bit DAW gets silently blacklisted. Always match plugin and DAW architecture.
How do I reduce CPU usage from plugins?
Use VST3 plugins, bounce committed tracks to audio, and route multiple tracks through a single reverb or delay on an aux send. Closing plugin GUI windows also frees GPU and CPU resources.
When should I buy third-party plugins?
Wait 3–6 months before purchasing third-party tools. That period reveals genuine workflow gaps and prevents buying redundant plugins that add CPU load without improving your sound.