Stop Glitches: Buffer Size for Recording with an Engineer Stress Test
Stop Glitches: Buffer Size for Recording with an Engineer Stress Test
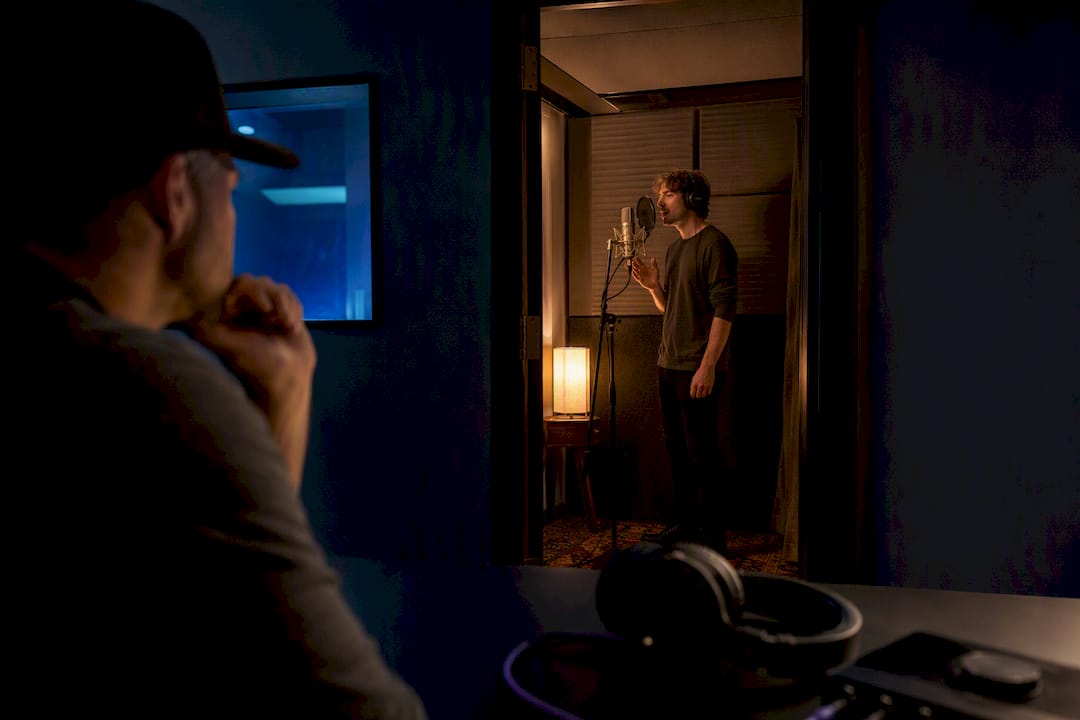
Try moderate buffer sizes for tracking vocals or guitar, use the lowest buffers only on powerful machines with light sessions, and increase buffer sizes significantly when mixing. Buffer size scales with your sample rate, so the actual millisecond delay shifts depending on that setting. If your interface supports direct monitoring, use it, then run the stress-test below to lock in the lowest number your session can handle without crackling.
TL;DR:
- Buffer size should be adjusted based on the session phase: low for tracking on powerful machines, higher for mixing to ensure stability.
- Typical recording buffers range from 64 to 128 samples, while 256 to 1024 samples are best suited for mixing and heavy plugin use.
- Lower buffers create less latency but increase CPU load and can cause glitches if your system cannot handle the stress-test results.
- Testing buffer stability involves looping dense, plugin-heavy session sections rather than empty projects, and reverting once glitches appear.
- Prioritizing task-specific buffer settings and conducting real-world stress tests provides more reliable performance than chasing the smallest possible buffer.
Table of Contents
- Best Buffer Size Settings for Tracking, Mixing, and MIDI
- How Does Buffer Size Affect Latency and CPU Load?
- When Should You Change Buffer Settings During a Session?
- Why Do Clicks and Pops Happen at Low Buffer Sizes?
- How Do You Calculate Recording Latency From Buffer Size?
- What the engineer's Engineer Says About Testing Buffer Settings
- Kai's Take: Stop Chasing the Smallest Number
- Sources
Best Buffer Size Settings for Tracking, Mixing, and MIDI
The right buffer size for recording depends less on your gear's specs and more on what you're doing at that exact moment in the session. A buffer that's perfect for tracking a lead vocal will choke on a mix with 40 plugins running. Here's where to start for each situation:
- Low buffer sizes are suitable for latency-sensitive tracking on high-performance computers with simple sessions, but many standard laptops might experience audio glitches when effects like reverb are used.
- 64–128 samples: The practical everyday starting point for recording vocals and guitar. Sweetwater recommends this range for tracking because it balances low latency against system stability.
- 128–256 samples: Better for overdubs or sessions already carrying a few plugins, and safer when you're routing through bus processing or triggering virtual instruments.
- 256–1024 samples: The zone for mixing and offline work, where latency stops mattering and stability becomes the priority. Bumping to 1024 can rescue a session choking on a heavy plugin chain.
Instrument choice matters here too. Vocalists and guitarists notice even small delays because they're hearing their own performance bounce back at them, while keyboardists often tolerate slightly higher latency without losing their feel. Drummers triggering samples fall somewhere in between. Test with the actual performer playing, not just your own ears at the desk.
How Does Buffer Size Affect Latency and CPU Load?
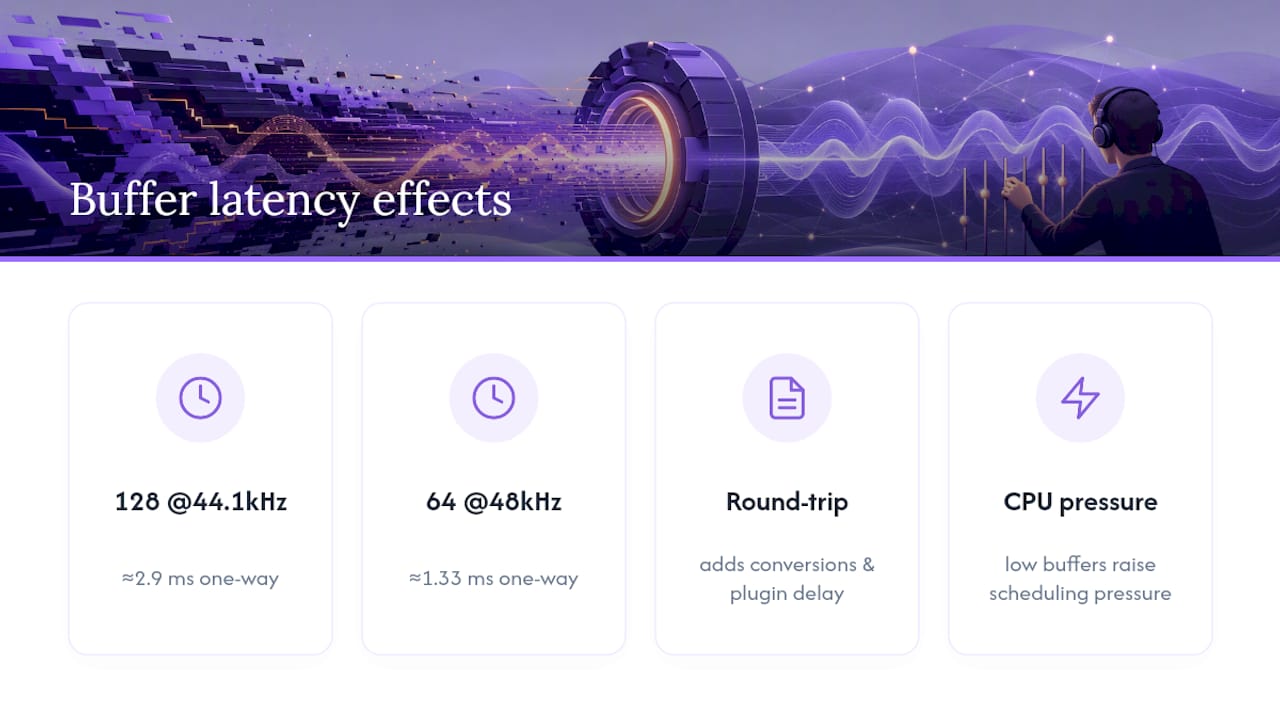
Buffer size is measured in samples, and the delay it creates depends entirely on your sample rate. The formula is simple: milliseconds equal the buffer size divided by the sample rate, multiplied by 1,000. A 128 sample buffer at 44.1kHz works out to roughly 2.9 milliseconds one way. A 64 sample buffer at 48kHz lands closer to 1.33 ms.
That's one-way latency, not what you actually hear. Round-trip latency stacks input conversion, output conversion, and any plugin processing on top of the buffer delay itself, which is why your interface's spec sheet number rarely matches what your ears report.
Lower buffers demand faster round trips between your audio driver and CPU. When the processor misses a deadline, even briefly, you get the clicks and pops that signal a buffer set too aggressively for the session. That scheduling pressure is exactly what makes CPU load in audio processing spike well before your meters show anything alarming.
When Should You Change Buffer Settings During a Session?
Buffer settings aren't a "set it once" decision. They should shift with what you're doing:
- Pick a starting preset based on the task, low for tracking, higher for mixing.
- Run the stress-test from the next section before committing to that number.
- Record at the lowest stable setting you found.
- Raise the buffer back up once tracking wraps and you move into mixing, since latency no longer matters and stability does.
Direct monitoring sidesteps the whole latency problem for performers by routing the input signal through the USB audio interface hardware instead of through the DAW. The trade-off: the performer won't hear DAW-based effects in their cue mix unless those effects are routed through outboard hardware or a dedicated monitor mixer. If you need a reverb in the singer's headphones, you either accept DAW monitoring latency or find real-time monitoring tools built for that exact routing.
Pro Tip: Freeze or print heavy virtual instrument tracks the moment you've finished tracking them. A frozen track stops taxing your CPU, which often lets you keep a lower buffer through overdubs instead of raising it prematurely.
Why Do Clicks and Pops Happen at Low Buffer Sizes?
Run this test before you trust any buffer setting: loop the densest, most plugin-heavy section of your actual session for one to three minutes, not an empty project. Lower the buffer one step, let it run, and listen. If it's clean, drop another step. The moment you hear a glitch, revert to the previous stable setting and stop there.
Roughly nine times out of ten, dropouts trace back to one of these:
- Outdated or generic audio drivers instead of the manufacturer's ASIO or Core Audio driver
- A USB port sharing bandwidth with other devices, or a hub instead of a direct connection
- Background apps (browsers, cloud sync, notifications) stealing CPU cycles
- Heavy virtual instruments or convolution reverbs left unfrozen
Distinguishing CPU overload from a driver fault matters. Overload shows up as intermittent clicks that get worse as you add tracks. A driver or USB fault tends to show up immediately and consistently, regardless of session complexity, which usually means the fix is a cable or port swap, not a bigger buffer.
How Do You Calculate Recording Latency From Buffer Size?
The formula stays the same regardless of your interface: divide the buffer size by the sample rate, multiply by 1,000, and you get milliseconds of one-way latency. Round-trip latency, what you actually feel while performing, adds driver overhead, converter delay, and any plugin processing on top of that number.
Three quick reference points worth memorizing:
- 64 samples at 48kHz ≈ 1.33 ms one-way
- 128 samples at 44.1kHz ≈ 2.9 ms one-way
- 256 samples at 96kHz ≈ 2.67 ms one-way, since the higher sample rate offsets the larger buffer
Notice that last one. A bigger buffer number doesn't automatically mean more latency once sample rate changes, which is why sample rate's effect on plugin behavior deserves its own look before you assume 256 is always "worse" than 128.
What the engineer's Engineer Says About Testing Buffer Settings
Buffer size troubleshooting on Windows usually comes down to driver behavior and single-threaded plugins missing their deadlines, according to an engineering breakdown of ASIO dropouts. Kai's advice for anyone chasing the "right" number: test the busiest section of your session, not an empty project, because an empty project tells you almost nothing about how your system behaves under real load.
Document whatever buffer setting works for your common templates. If your vocal-booth template holds steady at 64 samples , but your 60-track mix template needs 512, write both down. You'll save yourself the same diagnostic loop every time you open a new project. For deeper driver and OS-level tuning, a latency compensation guide covers what happens after the buffer decision, once your DAW starts managing plugin delay on its own.
Kai's Take: Stop Chasing the Smallest Number
Most buffer advice online treats latency like a competition, as if the goal is bragging rights for running 16 samples. It isn't. The goal is a session that doesn't glitch while you're trying to capture a take that matters.
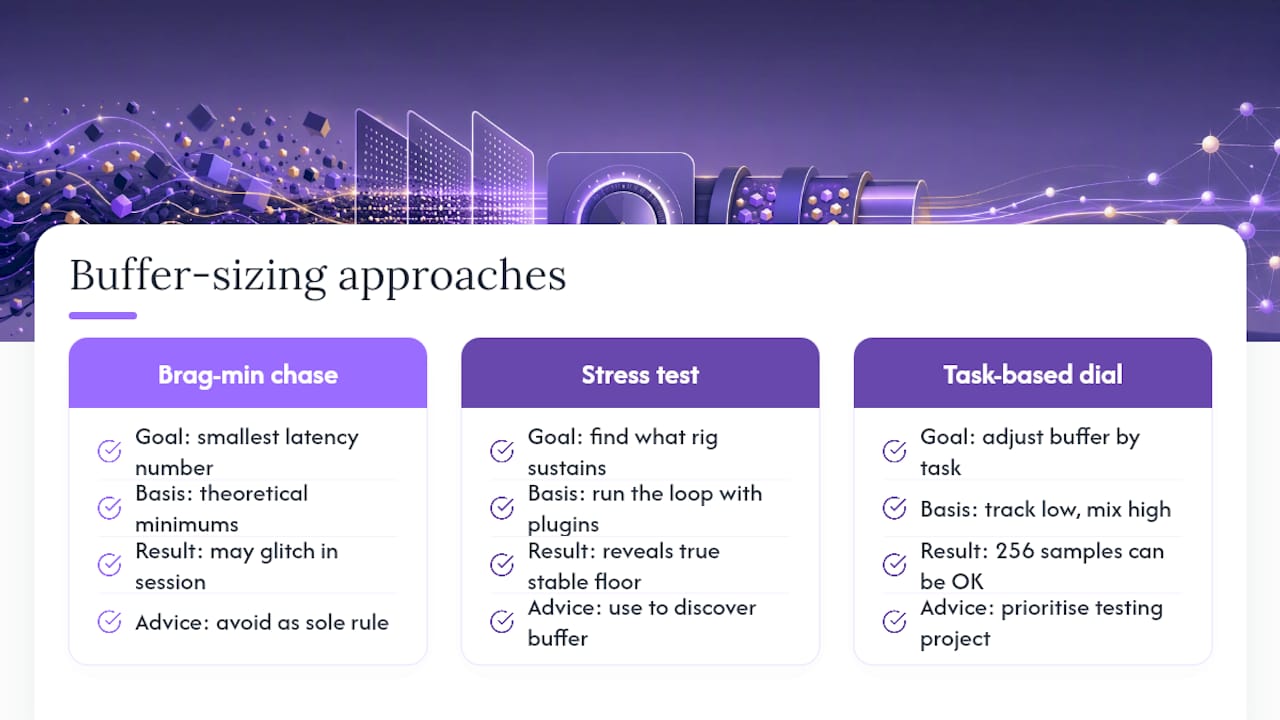
The stress-test approach beats theoretical minimums because it tells you what your specific rig, with your specific plugins, on your specific interface, can actually sustain. A 2024 laptop and a 2019 desktop running the same DAW can have wildly different stable buffer floors, and no spec sheet will tell you that number. Only running the loop will.
Where conventional advice falls short is treating buffer size as a fixed setting instead of a dial you adjust by task. Track low, mix high, and don't be precious about the number in between. If a session needs 256 samples to stay clean through a dense mix, that's not a failure, that's the system telling you where its real ceiling sits today. Prioritize testing your actual project over hunting for a universal "correct" figure, since buffer sizing research consistently points back to context over fixed rules anyway.
— Kai
Sources
- Which Buffer Size Setting Should I Use in My DAW?
- Q. What buffer size should I use?
- How to Safely Reduce Buffer Size Recording for Quality
- Sample Rate, Bit Depth, and Buffer Size Explained
- Updating the theory of buffer sizing (Stanford research paper)